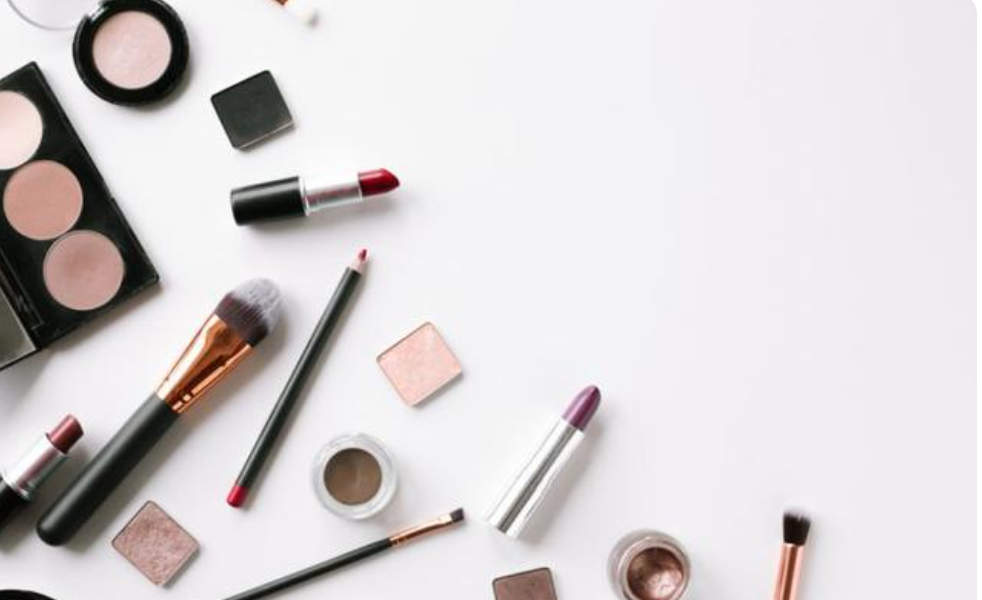
There are hundreds of makeup products on the market, from counter to open shelves. Each part of the face, from eyebrows to lipstick, can be a separate discipline. It seems to be very simple to see other people’s makeup, but for newcomers, they often look dazzled and don’t know where to start.
This time to save is the first step into the road of makeup babies, in the end, how to choose makeup supplies and should pay attention to the place, the way and steps of makeup will be explained to you one by one, let’s start!
Makeup steps for newcomers – prior preparation
Bright combing environment
This way, you can see clearly how each product appears on your face and the condition of your skin, and choose the right product for your skin type to achieve the best effect! In addition, it is less likely that your makeup will be applied in a bright place, making it difficult to save it.
Know your skin type and face shape
Everyone’s skin condition is different, and what works for other people may not necessarily work for you, such as dry skin and oily skin.
So while you’re excited to see all the makeup ads, don’t forget to measure your own skin type to see if it’s suitable. Knowing your own facial characteristics, you can use the right products in the right place, and the look that comes out will be the most natural and suitable for you.
Understanding clearly what is suitable for you and finding your own way of doing makeup is the most important part when you are new to makeup, and it is also the most important area to work on.
Pre-Makeup Maintenance
The most important thing is “Moisturize! Moisturize! Moisturize!” If your skin is dehydrated, even if you use expensive cosmetics, it is useless. I use a spray-type moisturizing spray to quickly hydrate my skin before applying makeup.
If you have oily skin, you can refer to moisturizing products with a fresher texture, such as “freeze mask” or other products that contain oil to reduce the burden on your skin.
Makeup steps for beginners – Apply makeup
It can be roughly divided into the following key steps, so let’s look at them in order!
Beginner’s makeup step 1 # Concealer/correct skin tone
This step can be omitted if your skin is in good condition or if you want a natural look. This step mainly focuses on local unsatisfactory parts to do light pressure concealment.
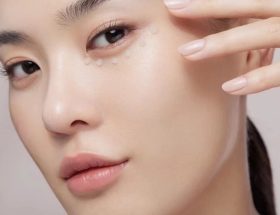
My problem is probably the dark circles under my eyes, which are so deep that they are hopeless, so I choose a liquid product that is one shade darker than my skin tone or with an orange tint and pat it evenly under my eyes.
The skin under the eyes is fragile and dry, so the application must be light, try not to pull the skin or easy to produce fine lines.
Newbie makeup step 2 # primer
The most headache for newcomers is the primer, I think I also spent a lot of money and bought a bunch of products that do not suit me, I really want to cry. The style of the foundation is really super variety, here is a simple summary of the function of common products for you to compare, so you can quickly get started.
Foundation: almost for all skin types, makeup effect from glossy to matte, oil control, moist and so many choices, and color number complete can find the most suitable for their skin tone foundation to create the most natural nude makeup sense, highly recommended to rely on the cabinet trial. The makeup is long-lasting, ductility and the degree of makeup are good, but the makeup needs more time to push evenly, but also not convenient to carry out makeup.
Powder: Beginners are recommended to start with “powder” because it is easy to use, and the makeup application skills are not difficult, presenting a matte, ceramic makeup. It is easy to carry and suitable for make-up touch-ups. However, dry skin or poor skin condition is not suitable for the whole face makeup, only key parts can be strengthened, otherwise it is easy to crack peeling, originally wanted to clear makeup feeling but caused the opposite effect. The actual fact is that you can’t get rid of the oil in your skin because of the powder texture, compared to the liquid texture of the foundation, it can reduce the burden on your skin, you can lightly press the powder for the oil prone parts to make the makeup more lasting and flawless.
Air Cushion Foundation: Most of them are for shiny makeup, excellent moisture retention, easy to apply and fast! Suitable for newcomers or in a hurry, also suitable for carrying out make-up, suitable for dry skin and general skin type. It is not recommended for oily skin and may be too moisturizing.
BB cream: most of the BB creams on the market now contain maintenance ingredients that can give the skin a simple maintenance effect, and both sunscreen, isolation, high concealer function, fast and convenient makeup, and foundation can be used with a choice.
CC cream: CC cream evolved from BB cream, texture than BB cream more light concealing effect is relatively weak, mostly to correct skin tone so that the makeup feels natural and thin. It is suitable for those who want to partially adjust their skin tone or pursue a natural nude skin feeling.
If I’m not late for work, I almost always choose to use the foundation to apply makeup, this foundation presents the effect I really love, the general open shelf can also dig the treasure ah!
How to apply makeup
You can draw a circle on the back of your hand first, so that the brush can be evenly coated with the foundation, and then the foundation will fit perfectly on the face.
After that, from the tip of the nose as the center of the inside and out, from the top to the bottom of the skin texture gently apply makeup, you can draw more circles in the cheeks pores more obvious parts, modify the pores to make the base makeup more flawless.
Novice makeup step 3 # powder to set the makeup
You only need to pat on the oil-prone areas, and you don’t need to use much. If you are looking for a shiny look, this step will make the base makeup less shiny, so use it at your discretion.
Makeup application method
I use a powder cake, I think it is more convenient to carry, open to use when the powder will not fly. Before the accidental explosion of a jar of powder heart has a shadow ah … the table are powder so difficult to clean up.
Novice makeup step 4 # eyebrows
If the whole face can only choose one part of makeup, I would rather give up all the flawless skin but must have eyebrows ah! The steps to draw eyebrows are actually very simple, but everyone’s eyebrow shape is different, so you must find the most suitable for your face shape to look natural.
The main thing is to use a brush to smooth out the eyebrows, then use a pencil to draw the desired shape of the eyebrows, and then use powder to fill in the gaps along the hair stream. Then use the remaining powder to draw a nose shadow along the sides of the nose to enhance the contour.
One key point to keep in mind is that the end of the eyebrow is deep and the head is light, not too thick, and just follow the shape of the eyebrow. Finally, use eyebrow coloring (it is recommended to use a color similar to your hair color for a more natural look).
The use of eyebrow dye can also make the eyebrows less likely to come off, but this step requires a bit of care, as the brush head is afraid of clumping so that the color of the eyebrows will not be uniform.
Makeup application method
First comb the color against the direction of growth of the eyebrows, and then brush out the flu with the eyebrows. Done!
Attached is a comparison photo of the two eyes, there are eyebrows instant makeup is complete 80%.
Newbie makeup step 5 #eye makeup
To draw eyeshadow you look carefully, the so-called work to be good at their work must first benefit from their tools. To draw a beautiful eye makeup, before you must apply eye shadow primer on the eyelids.
Especially if the eye area is dry or the eyelids are prone to oil, in order to strengthen the degree of color and hold the eye shadow, this step absolutely can not be omitted ah! If you don’t believe me, here’s a comparison chart that will show you the importance of primer right away.
How to apply makeup
Dab a bit of primer on the top of the eye to both sides, using a light dab of even color
Then you can paint on your favorite eye shadow!
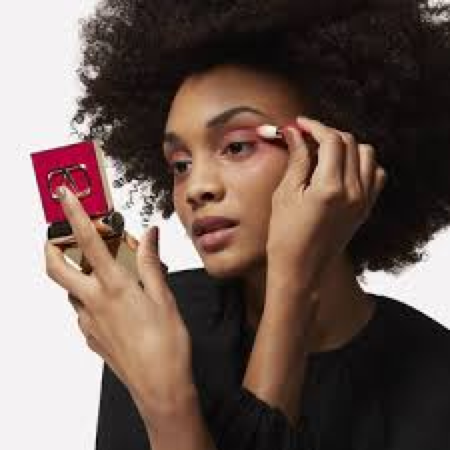
The main eye makeup steps can be broken down into the entire eyelid to the eye socket, to the base color + the end of the eye to provide the accent color + the head of the eye to highlight. You can use your fingers or brush to apply the color, but make sure your fingers or brush are clean before you change the color, don’t leave a residue of the last color, otherwise your eye makeup will look dirty.
How to apply makeup
The color comparison and range of use are attached. It looks like it’s complicated to use a lot of colors, right? But in fact, it’s not difficult at all, and you can do it with your fingers and the included eye shadow stick!
Use your finger to apply No. 1 matte pink on the entire upper eyelid (blue dotted line).
Use a wider eyeshadow stick and dip it into the No.* glitter pink color and apply it to the entire upper eyelid in the same range as the blue dotted line at the base.
Use a thin eyeshadow stick to apply No. 2 matte coffee color to the crease (yellow area) as eyeliner. When you reach the end of the eye, you can smudge it slightly upward to enhance the contour.
Also use a thin eyeshadow stick and dip it into No. 3 Light Sequins Brown to draw the lower eye shadow in the inverted triangle under the eye (white dotted line).
Use your finger to dip your finger into the No. 4 shimmering peach color to lighten up your eyes!
It’s very easy to do ~ and because the color scheme of this plate is very harmonious, even if any color misses to wipe too much does not look abrupt.
The finished makeup photo is like this, is not very beautiful! The romantic light pink with a bit of calm brown looks super gentle.
If you are a newcomer to eyeliner, it is recommended that you just draw the end of the eye, from the back of the eye along the eye fold back parallel extension, more practice a few times to be able to draw a gleam yo!
I think whether or not to brush mascara is a matter of personal preference, not a necessary step. But curling your eyelashes is a must!
How to apply mascara
I use the long version, you can see that the brush head has a curved shape, and by aligning the concave part with the root of the eyelashes and brushing upwards in a zigzag shape, you can get well-defined eyelashes!
The finish looks like this.
The comparison between the two eyes shows that you can decide whether you want to wear it or not depending on what kind of makeup you like. A glance with rubbing will be more spiritual, a glance without rubbing looks a little softer eyes.
Novice makeup step 6 # blush
The choice of blush has a lot to do with skin tone. If you are fair skinned, then congratulations, basically all colors can be easily managed.
However, if you have a natural healthy skin tone, it is recommended to use a blush with orange tones. If you have yellow skin, you can use a blush with purple tones, which can modify the waxiness and brighten your skin tone!
I love this blush color is very pink, light brush can have instant color. The blush brush is also very delicate and color-catching, so the brush does not sting the skin and is very colorful.
The most basic location to draw blush is the smile muscle area, smile in the mirror, the cheeks protrude from the place is the smile muscle, with the way to play round color can be.
